How to Host a Valheim Server – Step-by-Step Guide for VikingS
If you’re ready to explore the afterlife and conquer the biomes of Valheim with friends, hosting your own Valheim server is the perfect way to do it. You can customize every rule, invite fellow Vikings, and forge your saga exactly how you want.
This guide explains how to host your own server and why Citadel Servers is a great partner for your setup.
Step 1: Pick a Reliable Hosting Provider
Valheim is a cooperative survival game with large worlds, base building, and boss encounters that benefit from stable performance.
When selecting a host, focus on:
Performance: Strong CPUs and SSD or NVMe storage ensure smooth gameplay and faster world saves.
Network Quality: Low latency and reliable uptime are critical for cooperative exploration and combat.
Ease of Management: A user-friendly control panel lets you configure everything without technical hassle.
Support Availability: 24/7 assistance ensures help is always available if something goes wrong.
Citadel Servers provides all of the above, offering stability, flexibility, and powerful hardware optimized for survival games.
Step 2: Order Your Hosting Plan
Once you’ve decided to host with Citadel Servers, getting started is simple:
1. Go to the Valheim hosting page.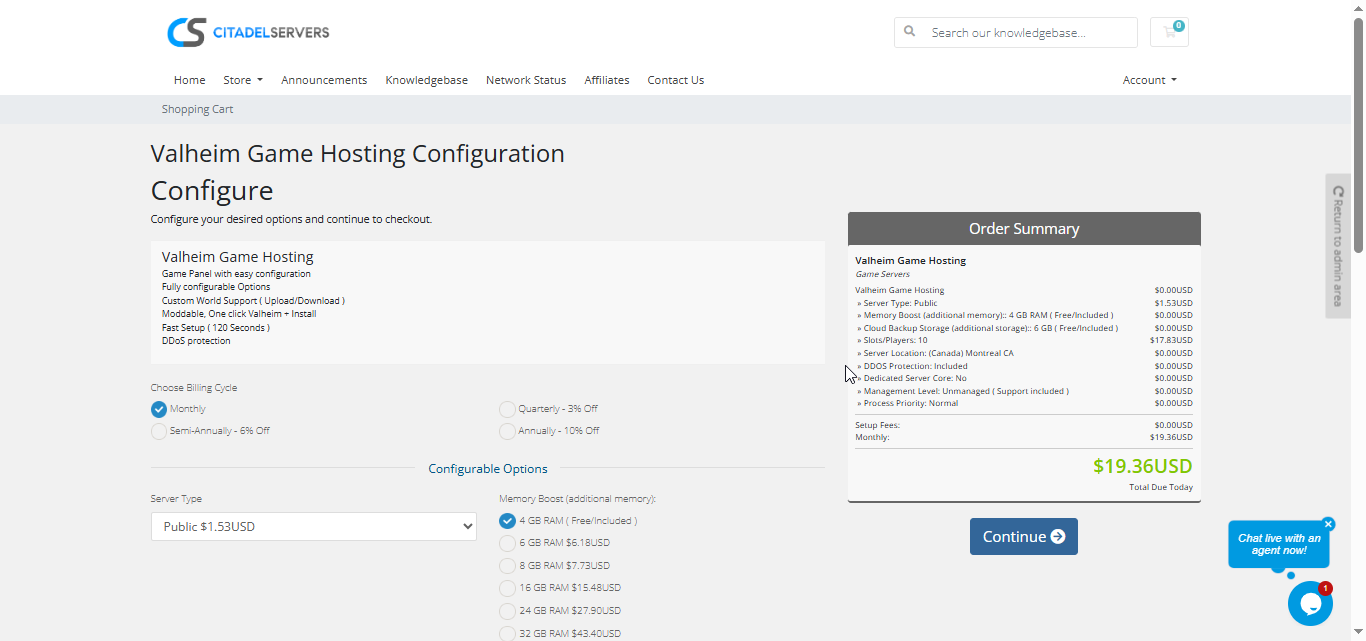
2. Choose how many player slots you want.
3. Pick your server location closest to your player base for the best ping.
4. Select any extras, like process priority, premium support, etc.
5. Proceed to checkout, once payment is confirmed, your server deploys automatically.
You’ll receive an email with your control panel login details and connection info within minutes.
Step 3: Configure Your Server
After deployment, it’s time to personalize your world:
- Follow our Quick Start Guide
Set your server name, password, and admin list.
Choose your world seed or generate a new world.
Adjust gameplay settings such as difficulty, resource rates, and PvP rules.
Install mods easily using the built-in Mod Manager, or upload custom files via FTP/SFTP.
Follow the Quick Start Guide to ensure everything is configured correctly.
All of this can be managed directly through the Citadel Control Panel, designed for both new and experienced players.
Step 4: Launch and Play
When your settings are ready, start your server from the panel and invite your friends.
Players can connect via the in-game server browser or by entering the server’s IP and port.
You can monitor activity, manage users, and restart your world at any time, all through the same web interface.
Why Host with Citadel Servers
When you host Valheim with Citadel Servers, you get the performance, flexibility, and reliability needed to survive and thrive in the afterlife.
What Makes Us Stand Out
Instant Setup: Your server is deployed automatically right after payment, so you can start playing within minutes.
High-Performance Hardware: Dedicated CPU resources and NVMe SSD storage ensure smooth gameplay and minimal lag.
Global Data Centers: Multiple worldwide locations provide the best connection for you and your players.
Full Access & Mod Freedom: Upload, edit, and customize every part of your server.
One-Click Mod Manager: Browse, install, update, and manage mods without complicated tools.
Automated Backups & Easy Restarts: Protect your progress with regular backups and manage restarts directly from your control panel.
24/7 Expert Support: Our technical team is always available to help you resolve issues quickly.
Your Viking saga deserves a strong, stable foundation. Citadel Servers delivers the performance, control, and reliability needed for true warriors of Valheim.
![]()
