
Click here to order your Minecraft server with Citadel today!
NOTE: Before making any changes, make sure that the server is stopped.
Here's a step-by-step guide on how to set up a whitelist on a Minecraft dedicated server:
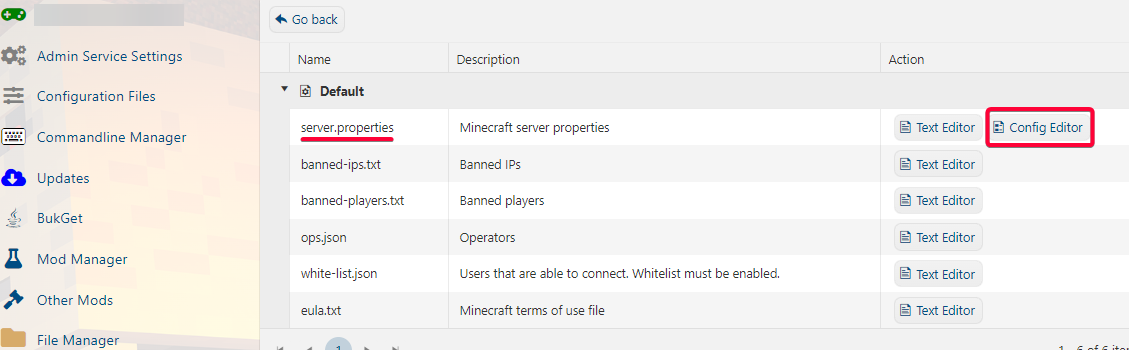
Log in to your Game panel
Open Configuration Files, navigate "server.properties" and open it via "Config Editor"
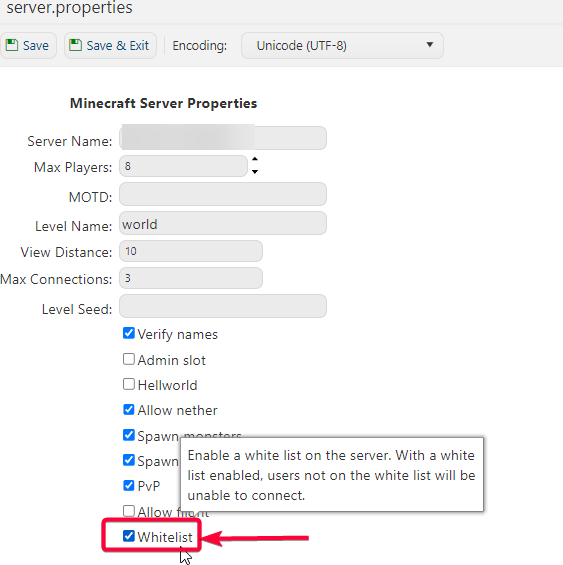
You can refer to the image below.
Tick the check box to enable the Whitelist on your Minecraft server.
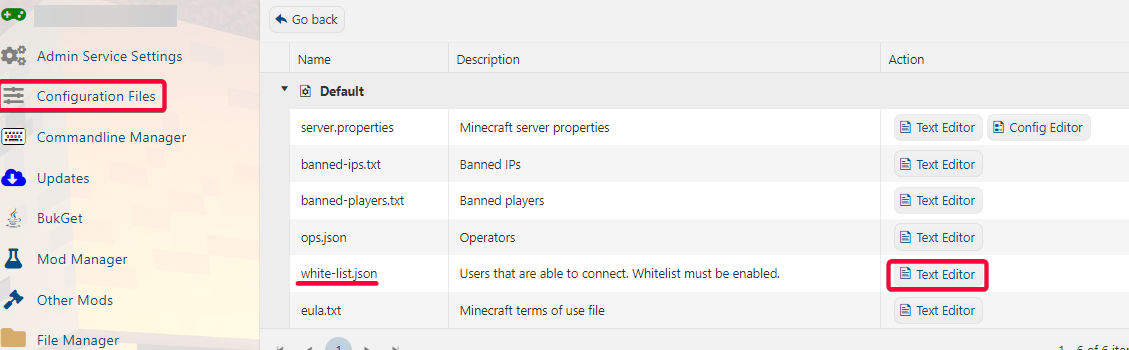
After enabling the whitelist option on your server, go back to Configuration files.
Navigate "white-list.json" and open it via "Text Editor"
You can refer to the image below.
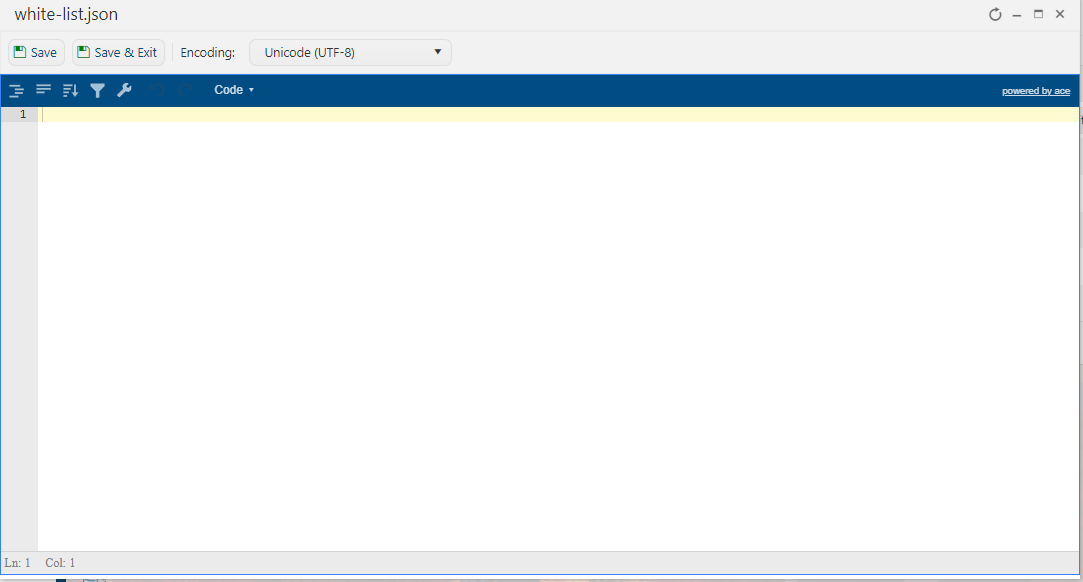
You can now add the player names that you want to be on your whitelist.
You can also add a whitelist on the webconsole by typing this command:
/whitelist add <player>
After entering names on your whitelist. You can verify it on your webconsole by typing this command:
/whitelist list.
You can now start your server. Only players on the whitelist can join now the server.
Did the above steps not work for you? Please contact our support and we'll help you out!
